A simple raised-bed drip system should deliver water predictably to the root zone while staying easy to flush, inspect, and repair. Build it in small controllable zones and verify the wetting pattern before relying on a timer.
TL;DR: A basic raised-bed drip system needs a water source, backflow protection where required, a filter, pressure regulation, main tubing, dripline or emitters, fittings, flush ends, and optional timing control. Lay the system out by bed, test pressure and coverage, then adjust run time by soil moisture rather than relying on a fixed schedule.
Plan the Water Path Before Buying Parts
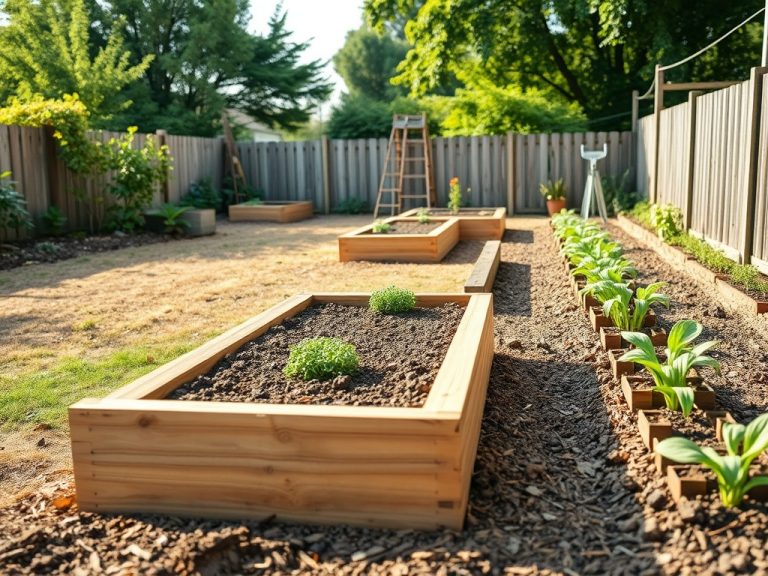
Start by sketching the water source, each raised bed, and the route tubing can take without crossing walkways or creating trip points. Group beds with similar plant and watering needs when possible. A small herb bed and a large tomato bed may not belong on the same schedule, even if the tubing can physically connect them.
Utah State University Extension’s backyard drip irrigation guide describes a typical landscape layout using a larger supply tube with smaller distribution lines or emitters near plants. Its earlier basic home-garden drip guide also emphasizes that efficiency depends on proper design, management, and maintenance, not merely on choosing drip hardware.
What a Simple Raised-Bed System Usually Includes
- A hose bib, irrigation valve, or other approved water connection.
- Backflow prevention appropriate to the connection and local plumbing requirements.
- A filter to keep small particles from clogging emitters.
- A pressure regulator matched to the drip components.
- Mainline tubing sized for the system.
- Dripline with built-in emitters or individual emitters connected by small tubing.
- Tees, elbows, couplers, stakes, end caps, and flush fittings.
- An optional hose-end timer or irrigation controller.
Buy components designed to work together. Drip products may use nominal sizes that do not interchange perfectly across brands or systems. Check the manufacturer’s pressure and flow specifications before mixing tubing, fittings, and emitters.
Step 1: Put Protection and Pressure Control Near the Source
Install backflow protection if required for your connection, followed by filtration and pressure regulation in the order recommended by the component manufacturer. Dripline generally operates at lower pressure than a household hose connection. Excess pressure can pop fittings apart or shorten component life, while inadequate pressure can reduce flow at the far end of a line.
Step 2: Run Mainline to the Beds Without Creating Hazards
Route the supply line along edges, fences, or other protected paths where it can be inspected and repaired. Avoid sharp kinks and tight turns. If tubing crosses a walkway, use a protected crossing or reroute it. Do not bury components that need routine access unless they are designed for burial.
Step 3: Choose Dripline Spacing for the Soil and Crops
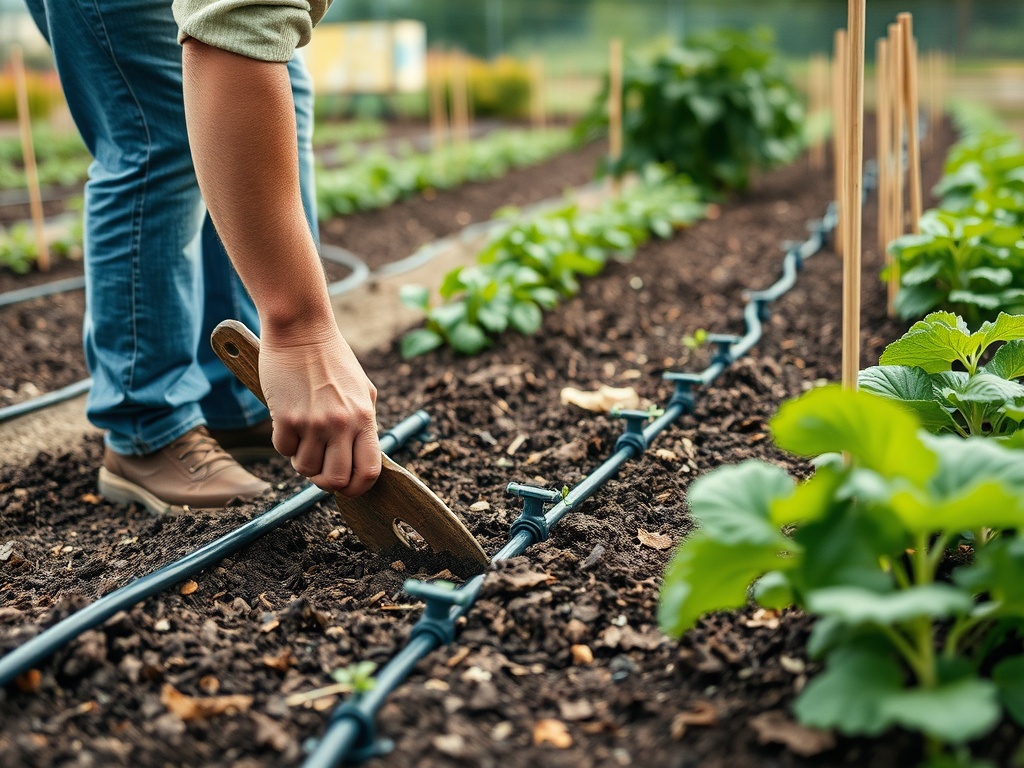
For closely spaced vegetables, inline drip tubing can be easier than installing an individual emitter at every plant. For widely spaced crops or permanent plants, point-source emitters may be practical. The best spacing depends on the emitter flow rate, soil texture, bed width, and root pattern. Sandy soil tends to move water downward quickly, while finer soils often spread water laterally more before draining.
Before finalizing the layout, run a short test and dig into the soil after watering. Look at the actual wetting pattern rather than assuming every emitter reaches the same area. Adjust line spacing or emitter placement so the intended root zone receives water.
Step 4: Flush the Lines Before Closing the Ends
Leave line ends open for the first flush. Run water long enough to push installation debris out, then close or fold the ends according to the product instructions. Repeat flushing periodically, especially after repairs or if the water source carries sediment. A filter reduces clogging risk but does not eliminate maintenance.
Step 5: Test for Even Flow and Leaks
Walk every bed while the system is running. Check fittings, kinks, end caps, and emitters. If the first bed receives strong flow while the last bed is weak, the zone may be too large, tubing may be undersized, pressure may be wrong, or there may be a restriction. Fix hydraulic problems before relying on the system for plant care.
Drip works especially well with the soil-control benefits described in Raised Bed Soil vs In-Ground Soil: What Changes?, but raised beds can dry quickly in heat. That means a timer should be treated as a convenience, not as a substitute for checking moisture below the surface.
Set Run Time by Moisture Depth Not by Minutes Alone
There is no universal number of minutes that works for every raised bed. Emitter output, soil texture, plant size, temperature, wind, mulch, and recent rainfall all matter. After a cycle, use a trowel or soil probe to see how deeply and widely moisture moved. Increase or decrease duration based on what the root zone actually needs.
Early seedlings may need moisture closer to the surface, while mature crops explore a deeper and wider root zone. As the season changes, revisit the schedule. A system that was appropriate in May may be excessive during cool wet weather or inadequate in midsummer heat.
Mulch Can Help the System Work More Predictably
A suitable organic mulch can reduce surface evaporation, limit soil splash, and moderate temperature. Keep mulch depth appropriate for the crop and avoid piling it against stems where persistent moisture may cause problems. Dripline can usually sit on the soil surface under mulch, where it remains accessible for inspection.
Troubleshoot the Common Failures
- Dry plant next to a wet one: inspect the nearby emitter for clogging or displacement.
- Leaks at fittings: confirm tubing size, pressure, and fitting installation.
- Weak flow at line ends: check pressure, filter condition, zone size, and kinks.
- Uneven beds on a slope: consider pressure-compensating components if appropriate.
- Constantly soggy soil: shorten run time, improve drainage, and verify emitters are not over-delivering.
- Algae or mineral buildup: follow manufacturer cleaning guidance and water-quality recommendations.
Keep the System Serviceable
At the end of the season, inspect exposed tubing, clean the filter, flush lines, and follow manufacturer instructions for freeze protection where winter temperatures require it. Replace brittle or damaged sections instead of stacking multiple temporary repairs. Keep a simple sketch of the layout so future changes are easier.
If you are redesigning the beds or paths around the irrigation, the layout principles in A Beginner’s Guide to Garden Design Principles can help keep valves, tubing, and access routes out of the way of normal garden movement.
A Reliable Setup Is Easy to Observe and Adjust
The best beginner drip system is not the most complex one. It is the system you can see, flush, repair, and adjust as plants and weather change. Start with a manageable zone, verify the wetting pattern, and expand only after the first beds are working consistently.
Information note: This home and garden information is educational only. Conditions vary by climate, property, materials, and local rules; use a qualified professional when a task is outside your experience or involves safety-critical work.
Install one bed or one zone first, test the wetting pattern, and use that evidence to fine-tune the rest of the system.